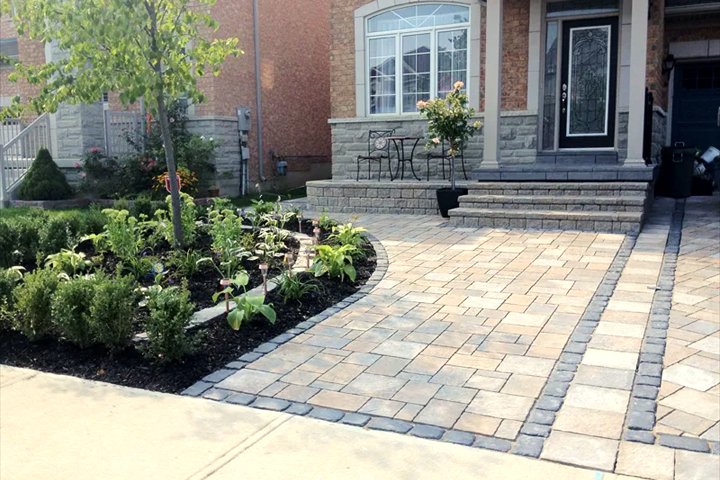
An interlocking patio is the part of the yard you actually live on: the dinner table, the barbecue, the chairs that follow the afternoon sun. The size, the height at the back door and where the water goes are settled before a single paver is ordered, and they are hard to change afterwards. We build interlock patios, backyard interlock and interlock walkways in Vaughan, including Woodbridge, Maple and Kleinburg, and in Thornhill, Richmond Hill, Aurora, Newmarket, Toronto and Peel.
Planning an interlocking patio
- Size it for the furniture. Set your table and chairs on the lawn where the patio will go and pull the chairs back as if someone were getting up. Mark the edge with a garden hose and leave a clear path to the door.
- Watch where the sun is. Look at the yard in the evening, when most people use a patio. A west-facing yard gets the strongest sun, and dark pavers in full sun get warm underfoot, so a lighter colour or a corner left for shade is worth considering.
- Check the door sill. The finished surface sits below the sill of the patio door, so rain and snowmelt cannot run toward it. If the door is well above the yard, a landing and steps are planned with the patio.
- Slope it away from the house. You won't feel the fall when you walk across, but water follows it to the lawn, away from the basement wall.
- Find the downspouts. A downspout emptying onto a patio puts the roof's water on one corner, and in winter that corner ices over. It usually gets an extension or is moved past the edge.
How a paver patio is built
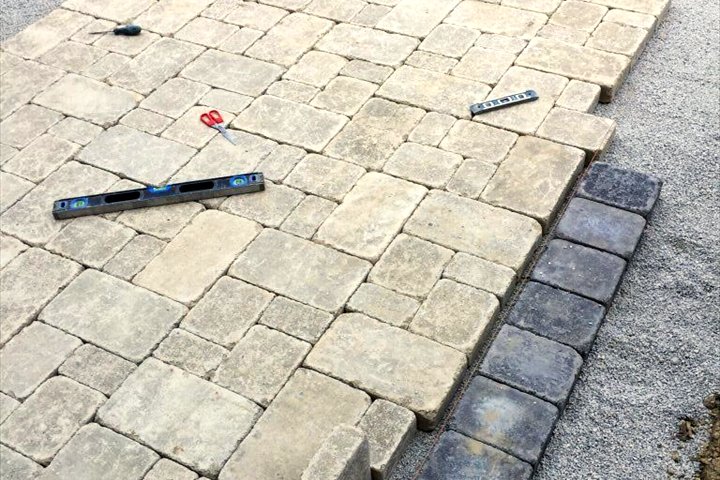
A patio carries lighter loads than a driveway, but it fails the same way: soft or wet ground under a thin base settles, and the pavers sink with it. Every interlocking patio and walkway we build goes together in this order.
- Compacted soil. The area is dug out, soft or wet soil is removed, and the soil underneath is compacted.
- Geotextile fabric. It keeps the soil and the base apart and helps drainage.
- 3/4 inch clear gravel. Compacted in 1 to 2 inch lifts so every layer is firm, and shaped to the patio's slope. The depth is set for the job and listed in your written quote.
- HPB bedding. Small limestone chips, screeded flat between rails to give the pavers an even bed.
- Pavers, compaction and joint sand. The pavers are laid and cut, compacted into the bedding, and joint sand is swept in to lock them together.
Where a patio meets lawn or a garden bed, an edge restraint holds the outside row. Without one, the pavers along that side drift apart and the joints open.
Front walkways and side paths
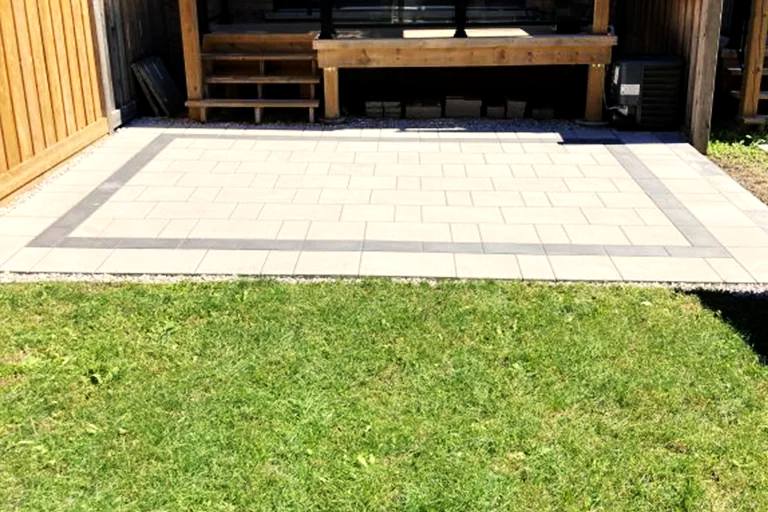
- Width. A front walkway feels right when two people can walk to the door side by side. A side path has to fit the garbage bins with room for your hands, and if you clear snow with a blower, make the path wider than the machine.
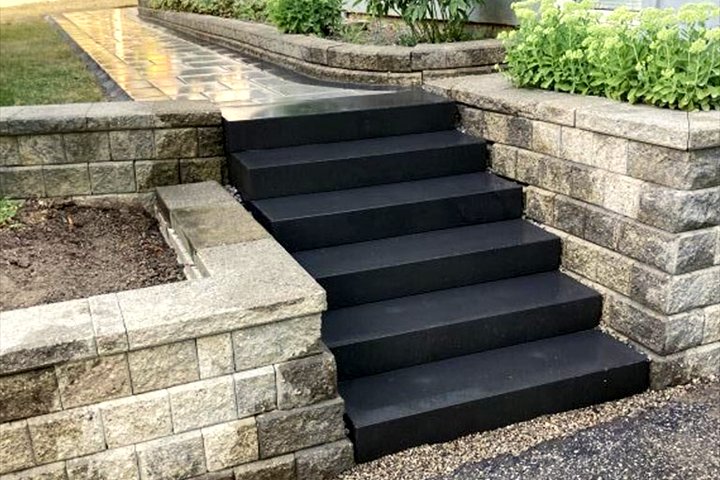
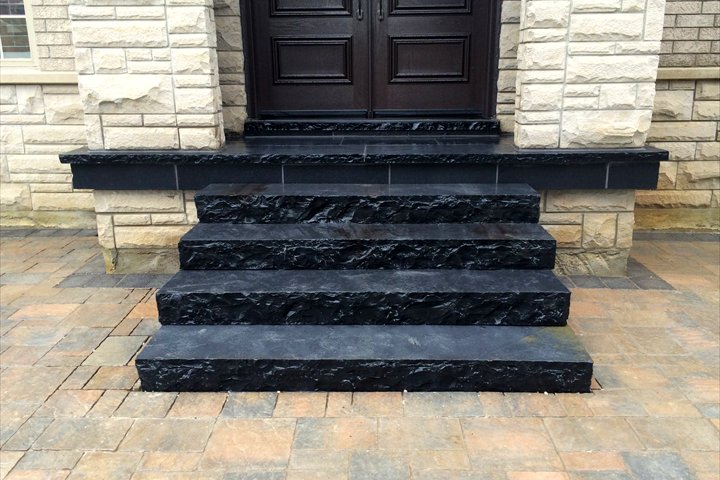
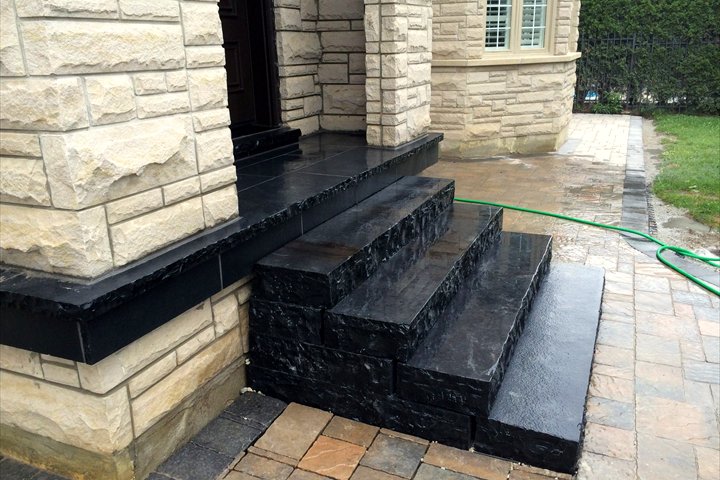
- Steps. Every riser the same height, every tread the same depth. Interlock steps are built from block and coping; for poured steps, see concrete steps. An aluminum railing or glass railing is easier to anchor when it is planned with the steps.
- Lighting. Path lights along the edge or small lights in the steps make a walkway safer after dark. Their wiring runs under the pavers, and an empty sleeve laid under the base lets you add lights later without lifting anything.
- Snow. Interlock clears well with a shovel or blower, and a plastic shovel edge is kinder to the pavers than steel. The walkway should shed water to the side, because a puddle at the front door is ice by morning.
Patio pavers, patterns and inlays
A patio is seen up close and walked on barefoot, so the paver choice shows more here than anywhere else on the property.
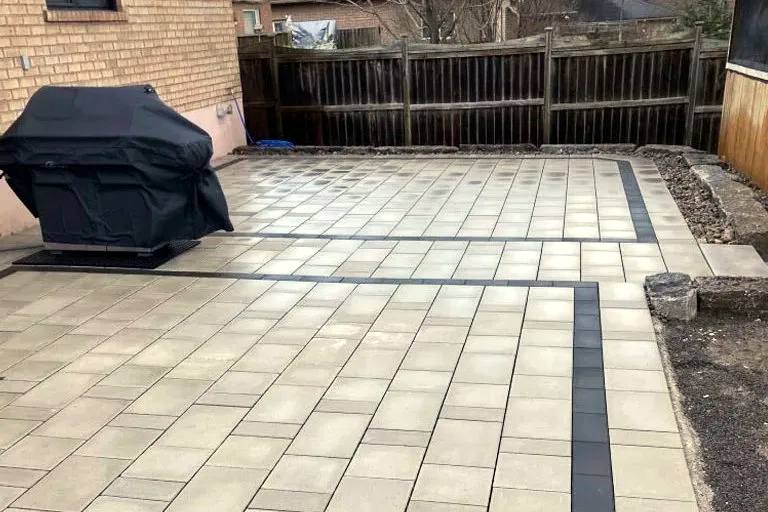
- Large slabs. A calm, modern surface with few joints, and so less sand to look after. They need a very flat bedding layer, because a high spot shows across a wide slab.
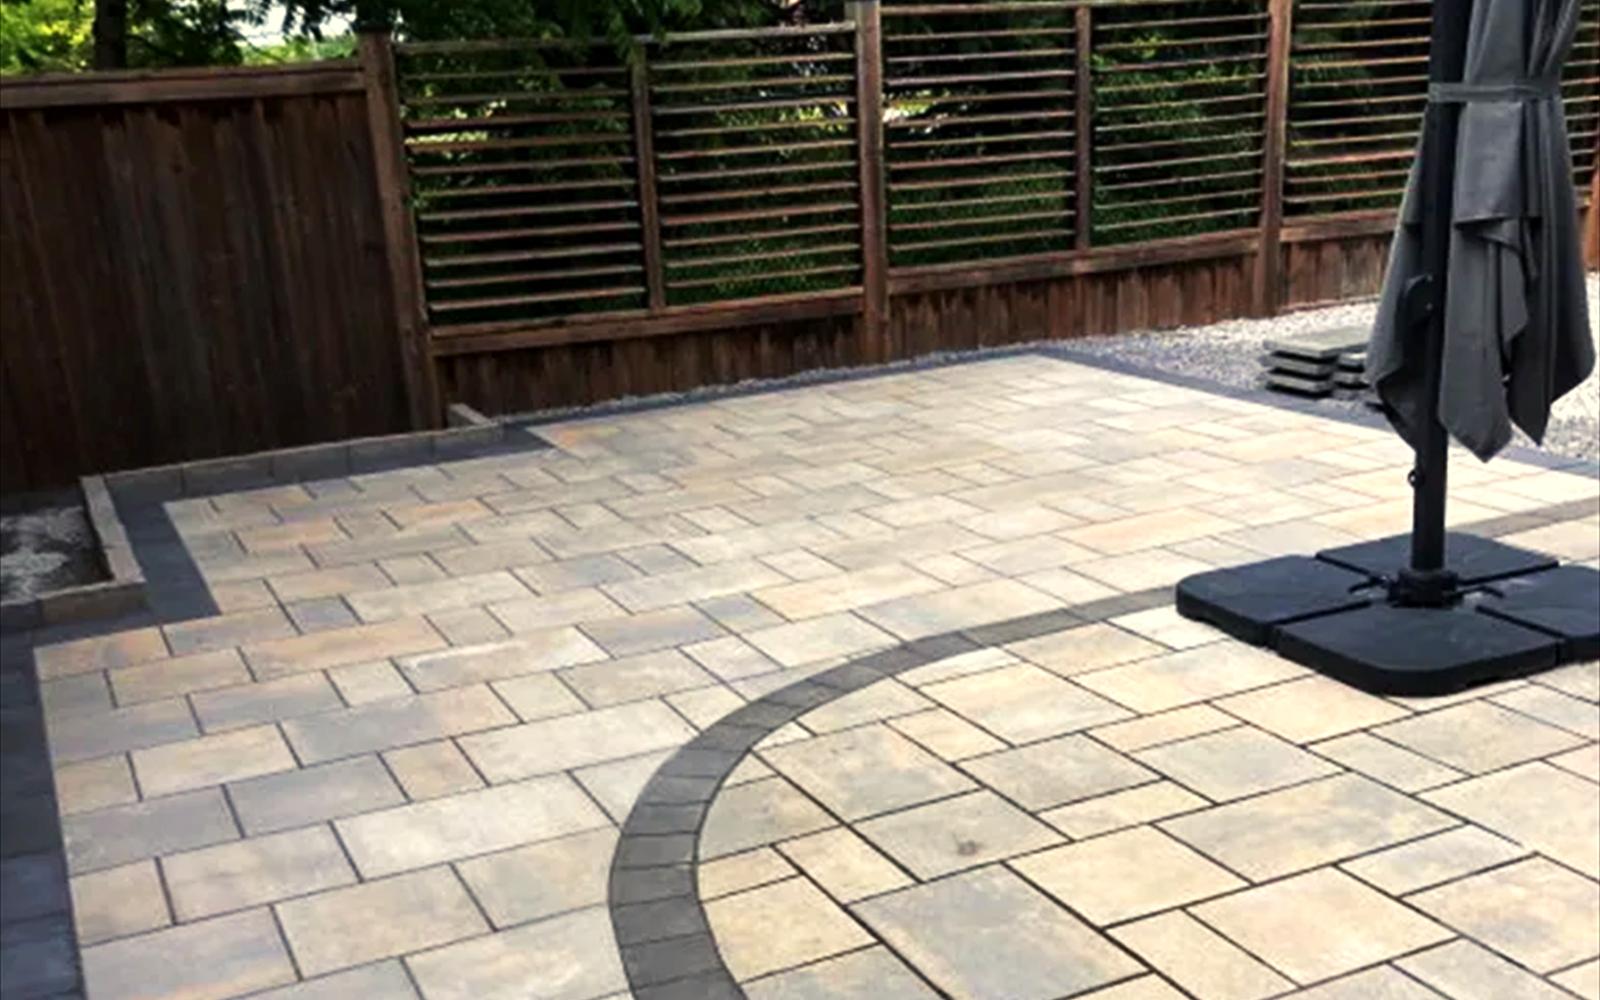
- Mixed sizes. Several sizes in a repeating pattern give the look of natural stone and hide small colour differences between pavers.
- Borders. A darker or contrasting border frames the patio and marks the edges of steps so they are easier to see at night.
- Inlays. A band or square of a second colour can mark the dining area or the spot under a fire feature. Inlays mean more cutting, so use them where they mark something.
Hot tubs, outdoor kitchens and fire features
The things people add to a backyard patio are heavy, and some need power or gas. Plan them before the base is built, even if they arrive years later.
- Hot tub. A filled hot tub is the heaviest thing most patios carry, and it stays in one spot. Mark its exact position so the base under it is built for that load, with room to open the cover.
- Outdoor kitchen. A grill station or counter in block needs a firm, level base, and its gas line or wiring has to be laid before the gravel goes in.
- Fire feature. A fire table or built fire pit needs a flat spot with space for chairs around it. A wood fire puts heat and soot on the nearby pavers, so a darker paver or a block surround ages better there.
Interlocking patio, concrete patio or stamped concrete
We build all three, and each suits a different yard.
| Question | Interlocking patio | Concrete patio | Stamped concrete patio |
|---|---|---|---|
| Look | Many shapes, colours, borders and inlays. | Clean and simple, usually a broom finish. | One surface that looks like stone, slate or brick. |
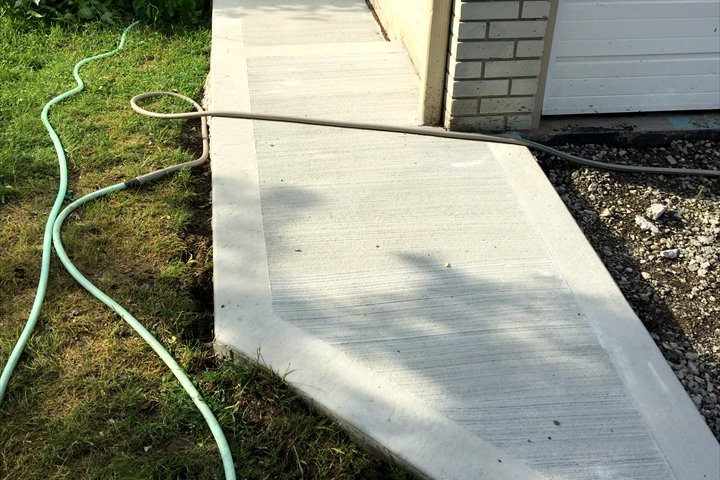
| Cracking | No slab to crack. The joints let pavers move slightly. | Some cracking is normal. Control joints decide where. | The same, and a crack runs across the pattern. |
| Repairs | Lift a section, correct the base, relay the same pavers. | Cut out and pour again. New concrete rarely matches. | Hard to hide. Colour and pattern are difficult to match. |
| Adding on later | Lift the edge and continue the pattern. | A new slab beside the old, with a visible joint. | A new pour that is difficult to match. |
If a poured slab suits your yard better, see concrete and stamped concrete. One free written estimate can price the options side by side.
Looking after an interlock patio
- Joint sand. Rain, sweeping and a pressure washer held too close carry sand out of the joints. Top it up when it drops below the paver edges, because the sand locks each paver to the next.
- Weeds and moss. They start in shaded corners, where the joints stay damp. Pull them small and refill the joint.
- Re-levelling. A paver that rocks or a low spot that holds a puddle can be lifted, the bedding corrected and the same pavers relaid. Fix the cause too, often a downspout or a gap in the edge restraint. The interlocking page covers when a repair holds and when the base needs rebuilding.
What to send for a patio or walkway quote
Send these through the contact page or the form on this page:
- Rough length and width, or a sketch with measurements.
- Photos of the whole area, including the back door and its sill.
- What is there now: lawn, old pavers, a concrete slab or a deck.
- Where the downspouts empty and where water sits after rain.
- Anything planned for later: a hot tub, a kitchen, lighting, a fire feature or a railing.
Your free written estimate lists what is dug out, how the base is built and what goes on top. Our office is in Vaughan, so a site visit for an interlock patio in Woodbridge, Maple or Kleinburg is a short drive.